
Over the weekend, Julien and I started a project on an IKEA Hemnes nightstand that i've had since college. When I bought it, it perfectly matched all of my other IKEA bedroom furniture and I had added a pink knob for extra flare. After probably 10 moves and 3 states, this nightstand looked like it had been on a 3 day bender in Vegas during high-pollen season on the East Coast. It needed a makeover...bad.
We started by cleaning off the nightstand and removing the old knob. Fortunately, I have a basement and we turned it into a mini workshop. After a visit to Home Depot, we came back with an electric sander, sand paper, white paint with primer included, and wood stain.
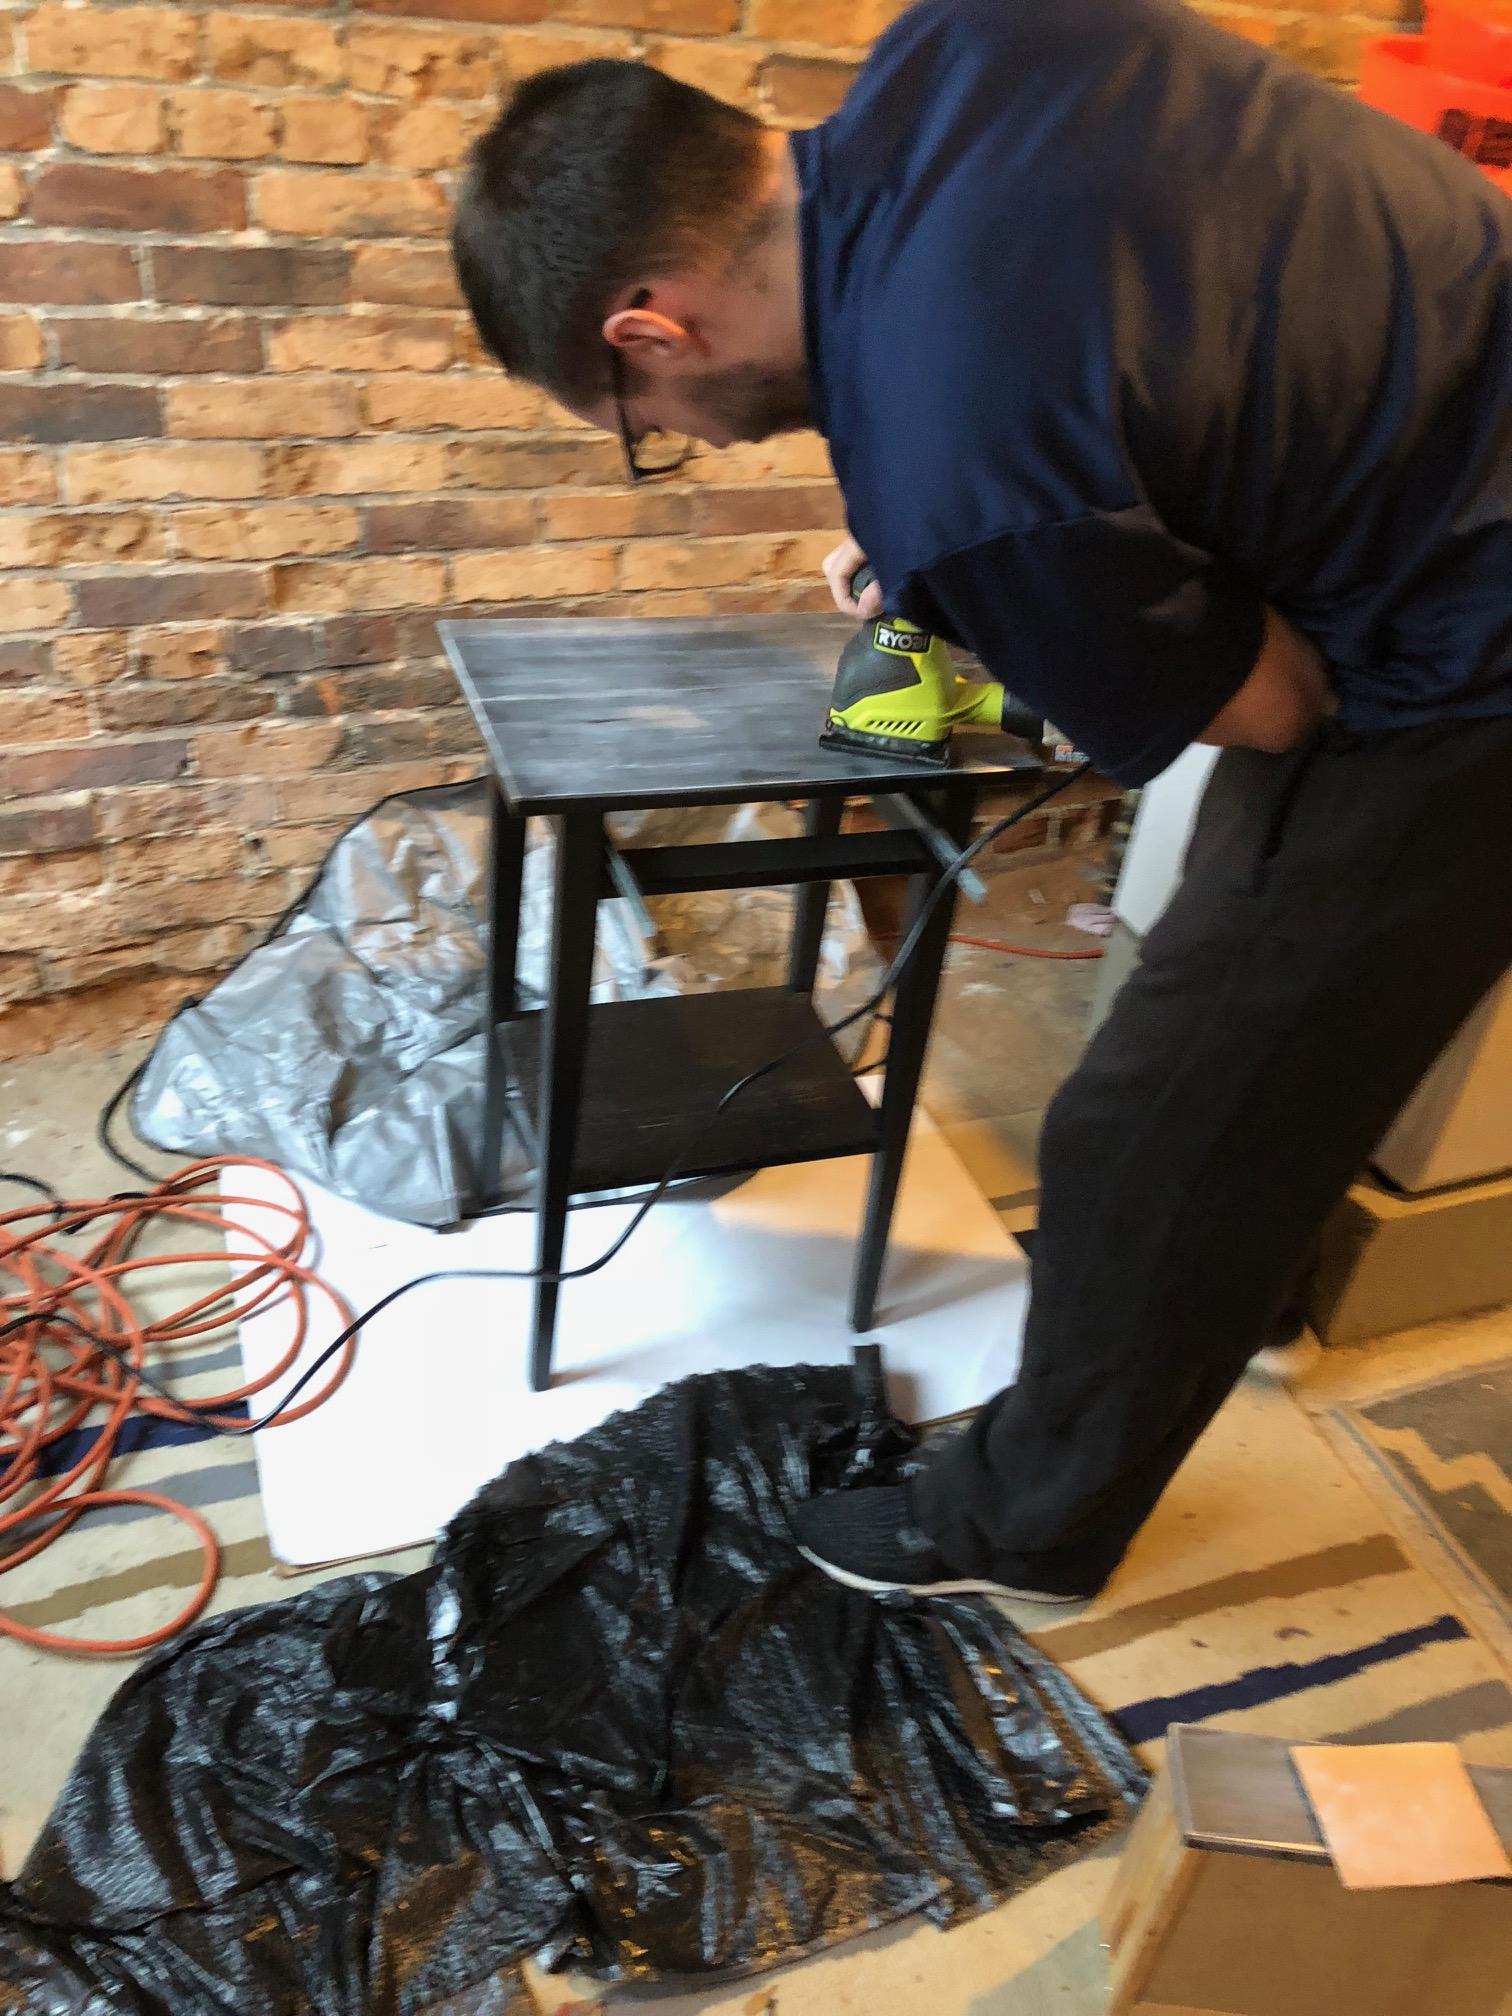
Here is Julien sanding away at the black paint. This process took multiple hours. In the bottom right hand corner, you can see my sandpaper and the drawer. This was a manual process and not fun.

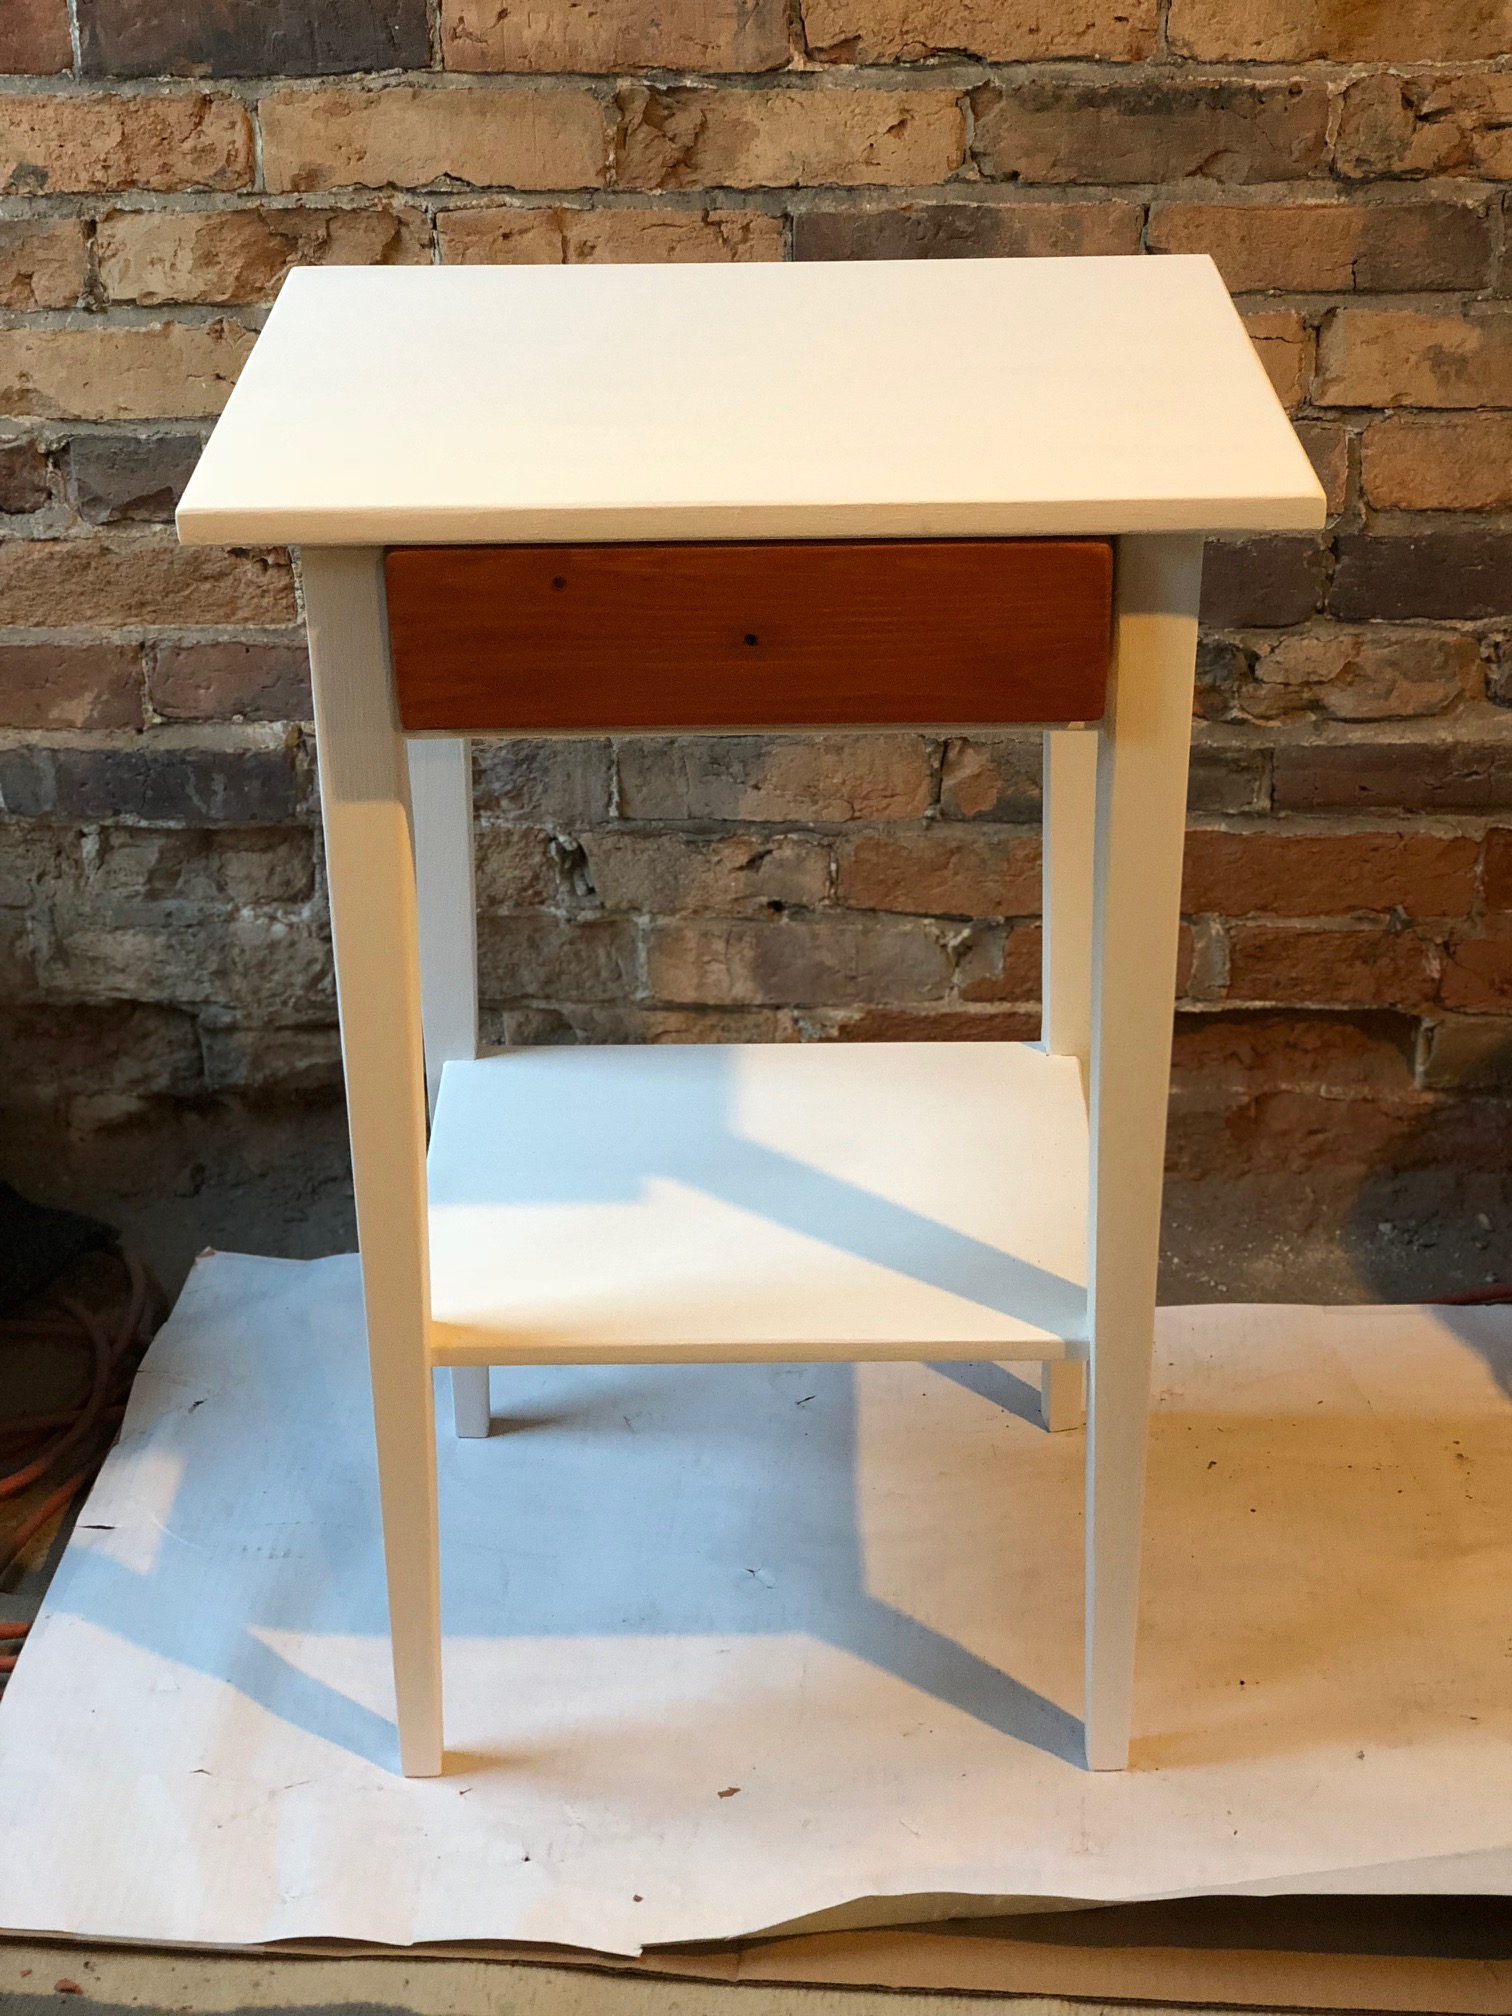
Here is what the nightstand looked like after the black paint layer was sanded away.

Here's the drawer I was working on. This step took quite a while, but Julien ran over it with the electric sander to make it extra smooth.
After 3 coats of the white paint and stain for the drawer, we let it dry overnight. The final step was to find a knob that matched. I ran over to Anthropologie and found 2 knobs that I liked. I had to order one in the brass color, but picked up this quartz looking knob called the Moonrise knob as well.
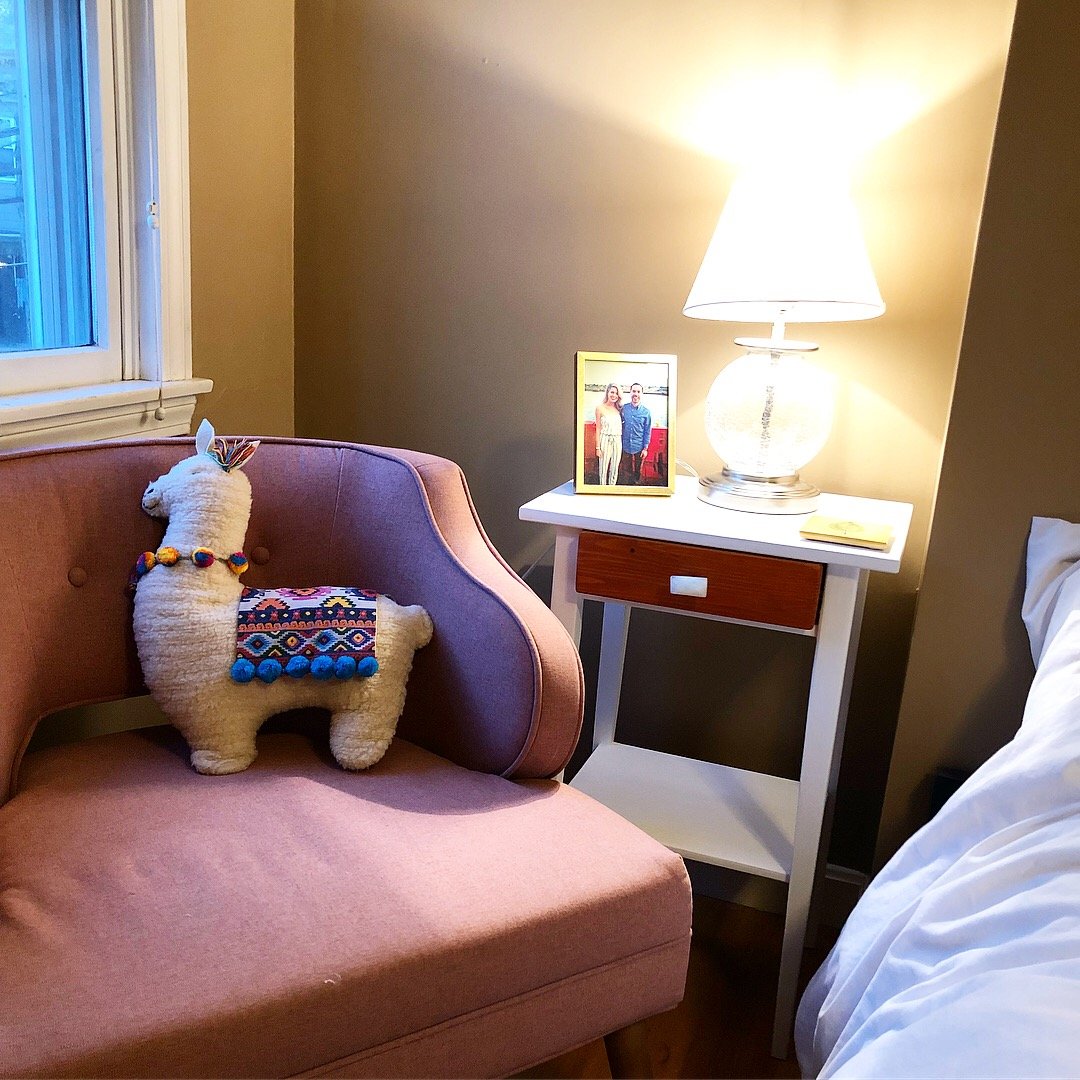
Here is the nightstand back where it lived before, but all polished. I will try to brass nightstand when it arrives in the mail, but for now I am happy with the new look.
comments